Showing posts with label Sweet. Show all posts

Monday, 25 May 2015

Yum

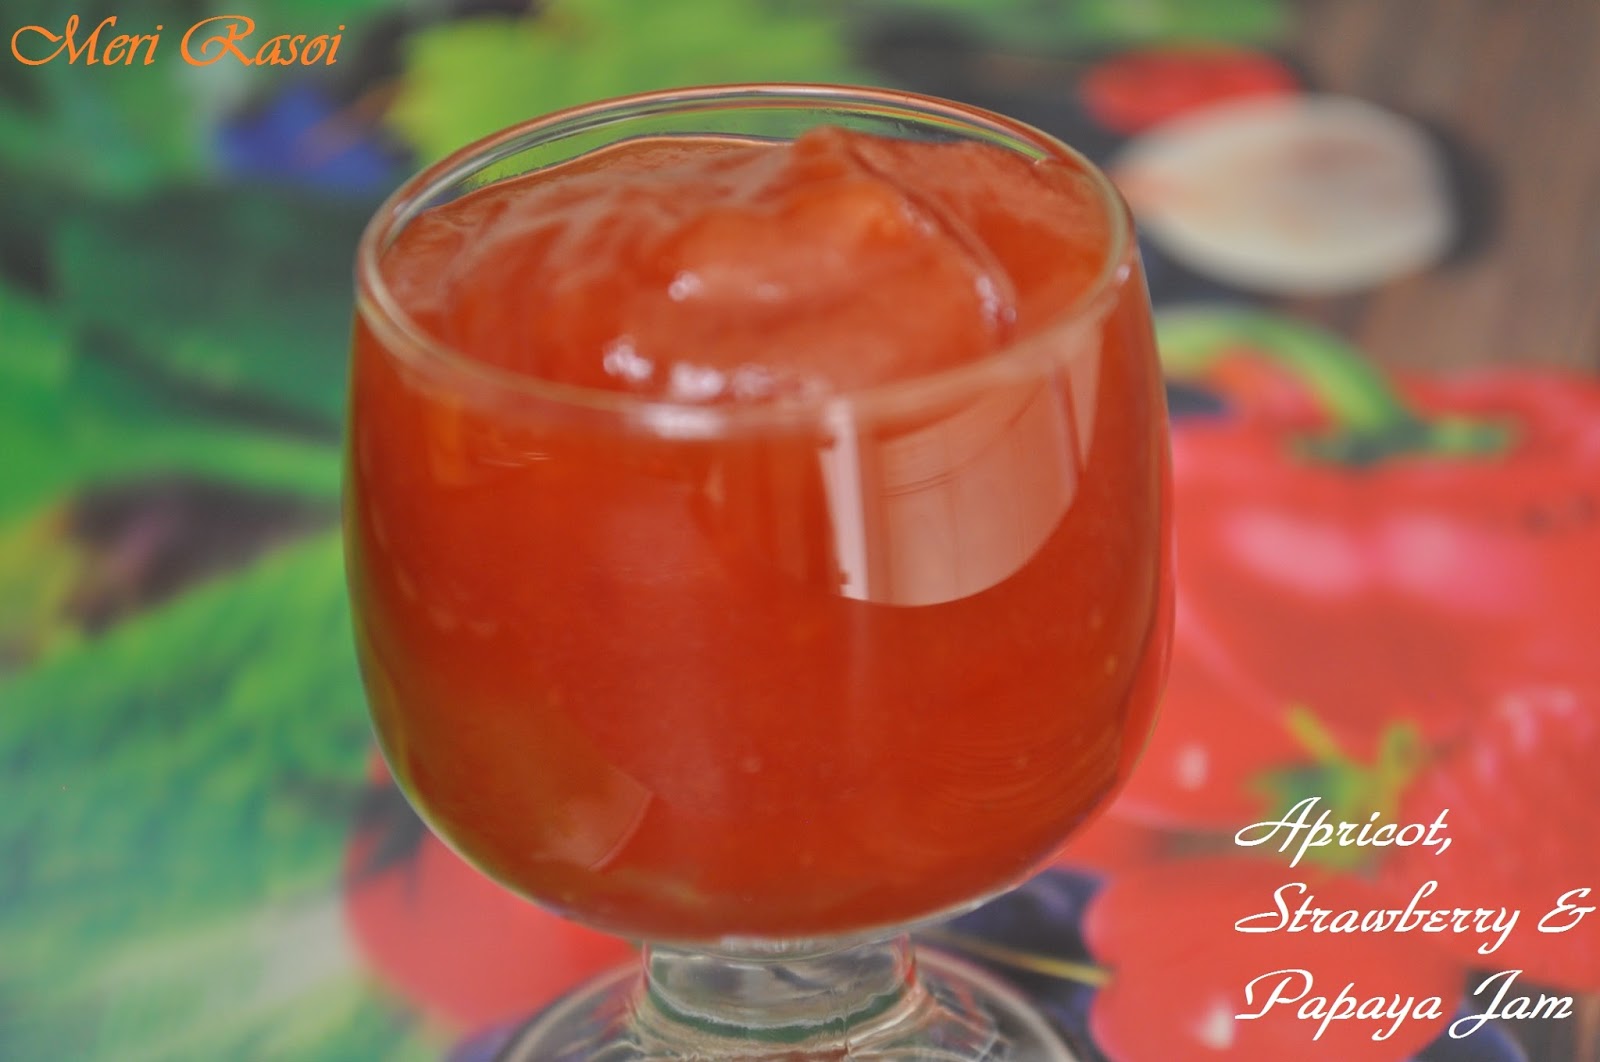
Apricot, Strawberry & Papaya Jam

Jam making is something, which I learnt way back when I was in school. My kids love Jam on toast. This strange sounding jam is excellent to go anything from hot buttered toast to a bagel.


Normally, what Jam means is totally different in countries. For example, in US it's Jam, because it has both juice and flesh. Some people say, Jam is made with only one fruit not the combination. I use many combinations for making Jam.


Today while thinking about the combination, I saw ripe papaya in the fridge with some strawberries and apricot. First I was going to make the fruit salad for myself, but then I pureed all of them, added some sugar and made the Jam.

I 'm sure you will also try this combination of jam at your home. Will you????? Don't forget to comment below. Until next time.......Happy Cooking Friends, Saumya


Ingredients:

Apricot                          - 2 washed and diced
Strawberries                  - 10 washed and diced
Papaya                          - 1 cup diced cubes
Sugar                             - 3 tblspoon

Method:

In a blender puree diced Apricots,Strawberries and Papaya together.
In a Pan, pour the puree and add the sugar.


Let this cook and reduce in quantity.
The Sugar will melt and puree will start to change the colour.


After about 10 minutes, the fruit puree will start to thicken up and gets dark in colour.
Once you see the sides of Pan starts to have the layer of dried fruit puree, switch the flame off.


Leave the Puree and Sugar mix to cool down.
Once cooled, the Jam is ready.
Store in a sterilised Jar.
This Jam is best to go with Malted bread, Granary bread or even Wholemeal bread.


Sunday, 24 May 2015

Yum

Microwave Eggless Chocolate Cake

One of the day, your little one starts screaming for chocolate cake and you don't really have time to wait for another 40 minutes for preparations and baking. You go for this quick, easy and ready in minutes chocolate cake. I tried it first time and It is already a hit in my house.

To my surprise, the cake turned out be the most gorgeous, moist and spongy cake. I never expected it to be like that because of microwave baking. This trial microwave cake made me a big fan of microwave cake baking.


I have already started making list of cake recipes, I can do in Microwave. The less time taking was the best thing attracted me towards microwave cake baking. Its a HIT HIT HIT!!!!!!!!

I've been baking cakes for quite a bit of time in my Kitchen, but never tried this method and believe me friends, Its an awesome method. I 'm sure even for once, you will try making it.  Don't forget to comment below :) Until next time.......Happy Cooking Friends, Saumya


Ingredients:

Self Raising Flour                  - 1 cup
Baking Powder                       - 1/2 tspoon
Baking Soda                           - 1/4 tspoon
Salt                                         - 1 pinch
Cocoa Powder                        - 2 tblspoon
Oil                                          - 1/4 cup
Sugar                                      - 2 tblspoon
Vanilla                                    - 1 tspoon
Condensed Milk                     - 1/2 tin (100grms)
Sour Cream                             - 1/2 cup
Water                                      - 1/2 cup


Method:

Grease a glass dish (Microwave safe).
Mix sour-cream and water together, keep aside.
Sieve Flour, baking powder, soda, salt and cocoa powder in a mixing bowl.
Mix Oil, Vanilla, condensed milk and sugar in other bowl. Whisk to dissolve sugar and fluff the wet ingredients.
Make a well in between dry ingredients, add wet ingredients.
Start folding the ingredients together.
Slowly add the sour-cream to make the batter a bit loose but on thicker side.
Once all the sour-cream+water is added, whisk well to avoid any dry lumps.
Pour the batter into greased microwave dish.
Bake on high , 100 percent power for 6-7 minutes .
Try not to go for dome shape deep bowls, you get sides cooked early and middle takes time.
Take a flat dish, which has equal depth and sides.
You have a gorgeously moisten and spongy cake ever.
I was surprised to see the cake once it was cooked, I never expected it to be so soft and spongy in microwave and in just 6 minutes.
Top the cake with your choice of glazing or frosting.


Friday, 22 May 2015

Yum

Green Apple Sweet Bread

Another day when you suddenly realize you have a lot of apples sitting in the fruit basket. Oh my god I don't want to waste them, don't want them to just go to waste. What can we make instead of Chutney unlike last time.
Scratching and thinking and pondering over and yes, why not...It's simple and delicious and easy to make :) Yes!!! Apple bread, Sweet apple bread. Sounds great, I thought and lets get cooking. As always like my other baking, it's eggless


Apples, known for their goodness and some of the advantages of apples are really great for diabetic people. Apples are known to reduce intestinal disorders, including diverticulitis, hemorrhoids and possibly some types of cancer. Helps control insulin levels by releasing sugar slowly into the bloodstream. Cleanses and detoxifies, which helps eliminate heavy metals, such as lead and mercury.


With the goodness of Apples, this bread is made with 50:50 ration of whole-wheat and plain flour. It should not be sweet, keeping this point in mind, added some nutmeg and cinnamon powder as well. Some people while making sweet breads add chinese 5 spice powder, which I think is a brilliant idea. Spices give sweet bread another level of taste and texture. You can also add some lemon juice for some tanginess in apple bites.

I'm sure you all will be tempted to try this sweet bread in your kitchen and let me know what you think about it. Don't forget to comment below :) Until next time.......Happy Cooking Friends, Saumya


Ingredients:

Green Apples                                       - 3 washed peeled and diced
Whole-Wheat Flour                             - 1 cup
Plain Flour                                           - 1 cup
Cane Sugar                                          - 3/4 cup (Adjust as per apple's sweetness)
Baking Soda                                        - 1/2 tspoon
Baking Powder                                    - 1/2 tspoon
Cinnamon Powder                               - 1/4 tspoon
Nutmeg Powder                                   - 1/4 tspoon
Salt                                                       - a pinch
Oil/Light butter                                    - 1/4 cup melted
Water                                                   - 1 cup
Lemon Juice/Vinegar                          - 1 tspoon
Vanilla Extract                                    - 1 tspoon (This can be any extract of your choice)


Method:

Preheat the oven to 180c and line a loaf pan with parchment paper.
Sift both the flour, salt, baking powder and soda into a mixing bowl.


Mix apple chunks in it and coat them well.


In another bowl, add oil/light butter, sugar and vanilla extract, Mix it well until sugar is dissolved


Once dissolved, pour sugar mixture into dry ingredients bowl.
Add 1 cup of water and mix well.
Once combined well, pour the vinegar and fold the batter gently. Do not beat it vigorously.


Vinegar helps to fluff the batter and makes air bubbles, so don't let the air escape with beating hard.
Pour the batter into the loaf pan and tab on the work-surface to let the extra bubbles escape.


Bake in the pre-heated oven for 45-50 minutes or until toothpick inserted comes out clean.
Once baked, leave it in the pan for 5 minutes and them cool it on the rack.


The Eggless Apple Cake/Loaf/Apple tea-cake is ready to serve with tea, coffee or hot chocolate.
The aroma of cooking this cake will fill your house with warmth.
Slice it and enjoy it with your family. I suggest to slice it only when it's cooled completely.


Friday, 8 May 2015

Yum

Fig & Prune Tea/Loaf Cake


Ingredients:

Plain Flour/APF                   - 1 cup
Corn Flour                           - 2 tblspoon
Apple Sauce                         - 1 tblspoon
Banana Puree                       - 1/2 cup
Baking powder                    - 1 tspoon
Baking soda                         - 1/2 tspoon
Salt                                       - 1/4 tspoon
Flora Healthy Oil                 - 2 tblspoon
Demerara sugar                    - 2 tblspoon you can replace it with 4 tblspoon of sugar-free granules
Vanilla extract                      - 1 tspoon
Figs                                       - 6 chopped in chunks
Prunes                                   - 6 chopped in chunks
Nuts/Seeds                            - to decorate (I used almond slices)


Method:

Pre-heat the oven to 180C.
Line a loaf pan grease-proof paper and spray some cooking/baking spray.
Chop and coat the figs & prunes in a tablespoon of flour, keep aside.
Take all purpose flour, cornstarch, baking soda, baking powder and salt in a bowl. Whisk it till mix well.
Take oil, sugar and banana puree in another bowl.
Whisk till the sugar dissolves. Add vanilla extract and apple sauce into it. Whisk again to mix it very well.
Add dry ingredients into wet ingredients bowl little by little folding all together.
Fold till all comes together, do not over-beat.
Add in the coated figs and prunes and fold in gently.
Pour the batter into loaf pan. Sprinkle choice of nuts/seeds to decorate.
Bake into preheated oven for 10 minutes after 10 minutes lower the temperature to 160 and cook for another 15-20 minutes or until toothpick inserted into the center comes out clean.


Remove it from the oven. Let it cool for 5 minutes in pan and then takeout and keep it to cool on cooling rack.
Slice the cake one the loaf cools down completely. We all loved eating a slice of it with our evening tea.


Thursday, 30 April 2015

Yum

Rasgulla / Roshogulla / Chena


Ingredients:

Milk                                      - 4 cups whole/semi skimmed
Lemon Juice                         - 2 tblspoon
Saffron                                 - 4-5 strands
Cardamom Powder              - 1 tspoon
Sugar                                    - 2 cups
Water                                    - 4 cups


Method:

Bring the milk to boil, try to use heavy bottomed pan.
Add the lemon juice once milk starts to boil, keep stirring to mix it well.
Gradually all the milk-mass will be gathered separating the whey.
Strain the water through a colander. I used the tea-towel over the colander and drain the water.
Wash it well with plain water to rinse the lemon from the Chena / milk mass.
Knot the muslin/cheese/teat towel to get rid of all the water from the Chena.
You can hang it to let that drip or press with a heavy thing to squeeze it.
I left it hanging for about 5 hours like I do with yogurt to make hung curd.
Now is the time to knead to Chena, I knead it for around 8 minutes .
I sprinkle half tspoon of cardamom powder on Chena while kneading to give it a flavor.
Remember to knead it with your palm not fingers or fist like we do with chapati dough.
Once it's kneaded well it will come togather like soft ball and starts to leave grease on your palms.
Make small balls out of the kneaded Chena.
I made 12 balls out of half cup of chena.
Make syrup with 2 cups of sugar and 5 cups of water, sprinkle rest of 1/2 tspoon cardamom powder.
Use a big pot to make the sugar syrup, as we will be boiling the Chena Balls into it.
Let the syrup comes to boil.  When it's rolling boil, add the Chena balls into it.
Cook them covered for 12-15 minutes. Cover with glass lid to keep an eye on them.
Once they are boiled they will come to surface and fluff-up.
To check their doneness, drop one Rasgulla into a glass of plain water, if it sink in the water it's done.#
If it's not done, boil it again for few more minutes and check again.
Chill the Rasgullas for few hours in the fridge before eating.
You can add saffron and pistachio flakes for garnish.
My family love eating rasgullas and I'm glad I tried them.


Tuesday, 28 April 2015

Yum

Instant Oats Jalebi


Ingredients:

Oats Powder                               - 1 cup
Plain Flour/Maida                      - 1/4 cup
Yeast                                          - 1 1/2 tspoon
Cardamom Powder                    - a pinch
Sugar                                          - 1/2 tespoon
Oil                                              - 1 tspoon + for frying
Orange Food Colour                  - 2 drops
Water                                         - Mixing the batter

Sugar Syrup:
Sugar / Sugarfree Powder         - 1 1/2 cup
Cardamom Powder                   - 2 pinch
Saffron Threads                        - 2-3 crushed
Lemon Juice                             - 1 tspoon
Rose/Kewra Essence                - for flavoring of syrup (Optional)
Water                                        - 1 cup


Method:

For Jalebi Batter:
In a deep mixing bowl, add Maida, Oats, Yeast,  Sugar, Cardamom Powder, and 1 tspoon oil. Mix it well,
Now add water to it and blend using a hand blender. Using a hand blender will give you a smooth lump free batter.
Add few drops of food colour.
Now keep this batter for 30 minutes for fermentation, as we are using yeast, it will be ready in 25-30 minutes. No need of overnight fermentation.
Adding the food colour is totally optional. I saw some Halwai and my mum doing that so is the reason I add it, that way Jalebis look vibrant.
It's great to keep your batter a bit on thicker side before fermentation, as after fermentation the consistency changes to be a bit runny.

For sugar Syrup:
15 minutes before frying the Jalebi, take a medium size wide pan.
Add sugar and water to it and bring it to boil. Now reduce the heat to low and simmer.
Now add saffron thread, cardamom and lemon juice to it. Mix it well. Simmer for few minutes and switch off the flame.
You can add the rose/Kewra essence at this time.
All this will take approximately 10 minutes. By this time, when syrup will start to cool down you will have 1 sting syrup.
Now keep this pot just next to the pan, which you are going to fry Jalebis.
Adding lemon juice prevents the syrup in crystallization of sugar.

Frying Jalebis:
Take another wide Pan/Karahi. It should not be very deep but should be wide enough.
Take at-least 2.5 inch of oil in the pan for frying Jalebis. Let the oil heat up on medium flame.
Now lets check the batter of Jalebis. By this time you batter will be fluffy and airy. You can also smell the fermentation from the batter.
Now check the consistency of the batter. Mix it with the beater slowly and check if it very thick.
Take a spoon and pour the batter from height and it should pour like ribbon.
If your batter is thick, add little water to it and mix well. Do not add a lot of water, add little by little using a spoon.
Take a squeezable bottle with a nozzle. Fill the batter up in the bottle.
To test the oil temperature, drop a small quantity of batter to the oil. It should come up sizzling to the top of the oil taking 1-2 second without loosing their shape. Take more time in coming up means oil isn't hot enough. Coming to the top right away means the oil is too hot.
If oil is too hot keep the pan of away from heat for few minutes and let it's temperature go down a bit. If the oil isn't hot enough do the batter test again until you get the right amount of heat in the oil.
Now Squeeze the batter out of the nozzle, applying constant pressure and making 3-4 concentric circles in the oil and sealing them in the middle.
Work from inside to outside. It takes time and experience to get proper shape and it gets better and better batch after every batch.
Sometimes I make the Jalebis in a long joint shapes like Halwais.
Do not fry more than 3-4 Jalebis in a batch.
Once you have shaped the Jalebis in hot oil, in 2-3 seconds they will come up without loosing their shape, flip and let turn golden on the other side too.
Once golden, take out of from the hot oil, tilting the spider or frying spoon so that excess oil is drained.
Add the fried Jalebis to the lukewarm (not hot)syrup.
Let Jalebis soak for not more than few seconds (like 5-10) and take out again tilting the ladle to drain excess syrup else they will break and turn soggy.
Fry up all the Jalebis and soak in syrup. Serve warm Jalebis with yogurt or milk.
Store the ready Jalebis to the room temperature and consume them in 2 days, as they are instant and go bad very soon.
The right texture of the Jalebi will be crispy outside and when you bite them they are filled with syrup.
For the pictorial view of making Jalebi, pls refer my post of Classic Jalebis.


Saturday, 28 March 2015

Yum

Berry Shrikhand


Shrikhand is an Indian sweet dish made of hung curd(AKA strained Yogurt). It is one of the main desserts in Gujarati cuisine and Maharashtrian cuisine. It's very easy to make just the preparations takes a bit of time.

A popular variation of shrikhand in Maharashtra is Amrakhand, which is made with mango pulp. Another variant of shrikhand, I made with berries. This can be made with any fruit pulp or nuts powder.


In Gujarati cuisine, shrikhand is eaten  with Poori. It is commonly served as part of a vegetarian thali in restaurants. It is served chilled as a counterpoint to hot and spicy curries. Fresh fruits are best for it's garnish.

I 'm sure you will try making this berry shrikhand at least for once. Don't forget to comment below :) Until next time.......Happy Cooking Friends, Saumya


Ingredients:

Yogurt                                               - 3 cups
Mix Berries                                       - 2 cup (I used Strawberry and raspberry)
Green Cardamom Powder                 - 1/2 tspoon
Sugar                                                 - 1/2 cup

Method:


Hung the curd in a muslin, cheese cloth for at-least 4-5 hours, best left overnight.
Throughly wash and Puree the berries.
In a pan add berry puree and sugar, stir it continuously on medium flame.
Once the sauce starts to thickenup, drain in through a sieve to aviod the seeds while eating.
Take a deep mixing bowl, add thick hung curd to it, add the cardamom powder and mix with a hand blender.
Pour the berry sauce into the bowl and blend till smooth.
Pour shrikhand in individual serving bowls or in the big serving bowl and keep in the fridge overnight to chill it.
Once chilled, spoon or pipe it into the serving bowls and garnish with fresh berry or glazed cherry.
This is the best dessert in hot summers. Also can be added to the Thali menus as a dessert.
We sometimes eat it a part of out Thali and sometimes just with Puris for breakfast.


Sunday, 22 March 2015

Yum

Mawa Mewa Ladoo / Khoya Dry Fruit Ladoo


Ingredients:

Mawa/Khoya                                  - 1 cup
Granulated Sugar                            - 1 cup
Cardamom powder                          - 1 tsp
Coarse Mix Dry Nuts                      - 1/2 cup
Pistachio / Almond Flakes              - few for garnishing

Method:

If the Khoya was in refrigerator, take it out 1 hour before making laddoos.
Use the grinder to coarse grind the dry nuts. I used Cashews, Almonds, Walnuts and Pistachios.
In a heavy bottom Karahi, tip the Khoya and mash it on low flame.
Once khoya is soft, mix the dry nuts and cardamom powder to it.
Mix well, keep the flame to low all the time.
Now take it out in a big Thali or wide plate. Let it cool down a bit.
Once it's on temperature which can be handled on your palms
Add the Sugar into Khoya.
Using your fingers, mix it well.
Once mixed well, rub the khoya mixture in between your palms.
Now comes binding the ladoos, first rubbing the mixture between your palms and then binding them using one hand (the way you must have seen the Halwais doing).
You need to keep pressing them firmly between your fist to bind it properly.
With each laddo done garnish it with pistachio or almond flake.
Bind the laddoos when the mixture is warm not completely cold.


Thursday, 5 March 2015

Yum

Mawa Gujhiya


Ingredients:

For Gujhiya Crust:
All purpose flour/ Maida                                                 - 2 cups
Clarified Butter / Ghee                                                    - 2 tblspoon
Water                                                                               - as required or 1/4 cup

For Mawa Stuffing:
Mawa / Khoya                                                                 - 1/2 cup
Mixed Nuts                                                                      - 1/2 cup
Desiccated coconut                                                          - 2 tablespoon
Cardamom powder                                                          - 1/2 teaspoon
Sugar Granulated                                                             - 4 tablespoons
Ghee or oil                                                                       - for deep frying


Method:


Making the crust:

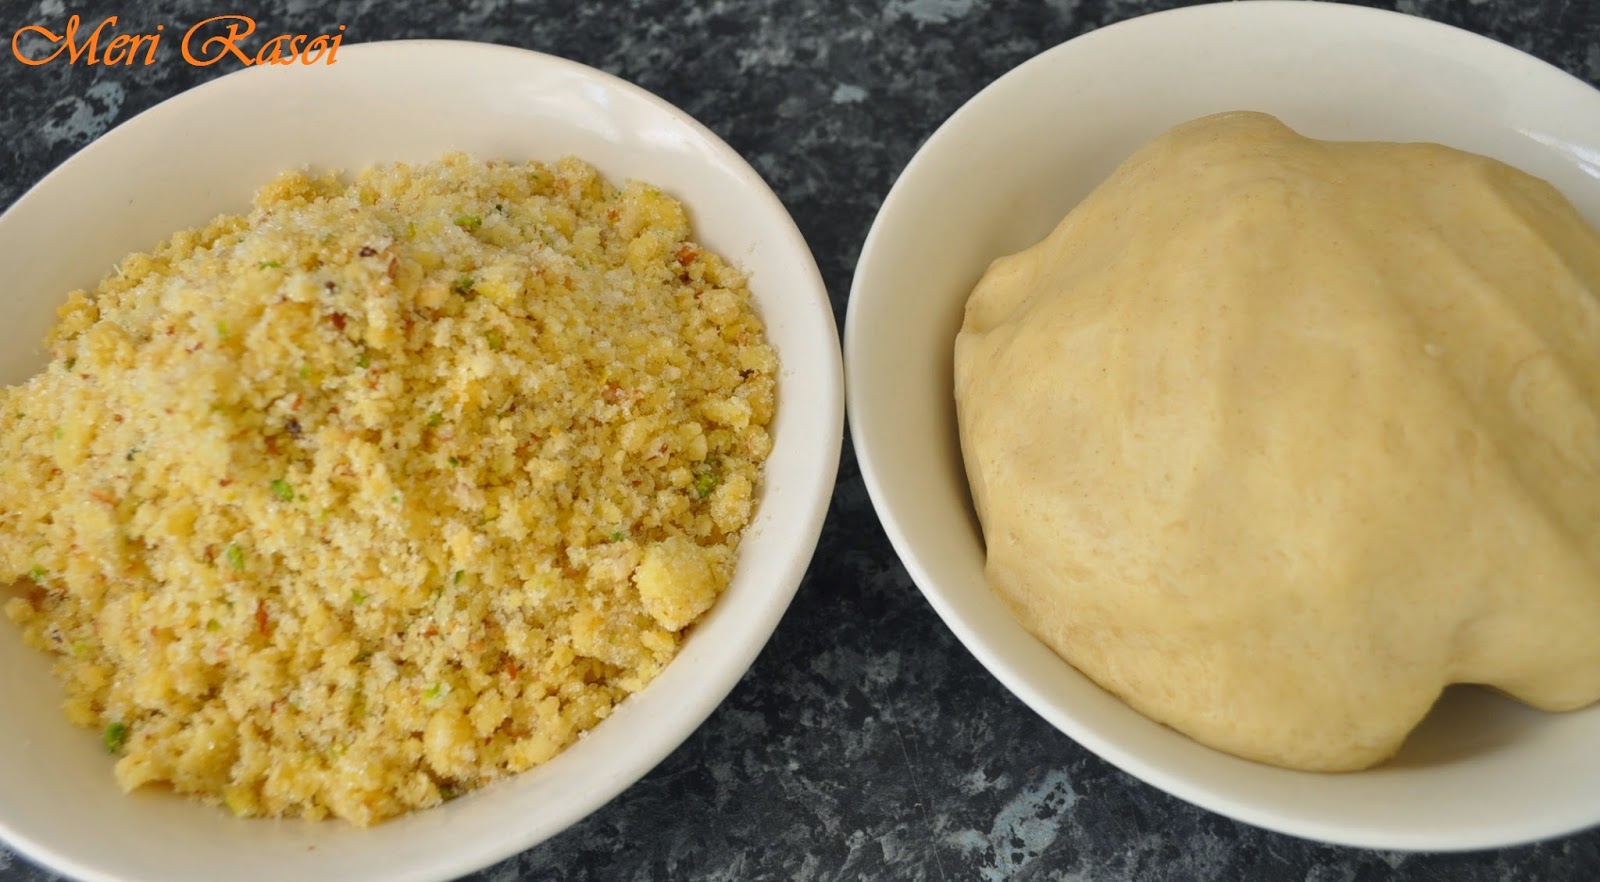
Mix maida and ghee. Rub the ghee into flour using your fingertips. Check the right amount of ghee by binding flour into your fist, if it forms a shape for few seconds, the amount is right.
Knead into stiff and smooth dough by adding little water at a time. Cover it and let it rest for 30 minutes.

Making Mawa Stuffing:

While the dough rests, we will get on to make stuffing.
Heat the mawa in a pan on medium heat. Cook it till it starts to get light brown and stir continuously.
Remove it to a bowl and let it cool till it is lukewarm. Add sugar, nuts, coconut, cardamom powder, and mix it well. Let it cool down completely.

Assembling Gujiya:

Now knead the dough once again and divide it into 15 equal portions.  Cover them to keep them smooth.
Work with one portion at a time, make smooth ball and flatten it into a disc.
Roll it evenly into 3 inch diameter circle.


Put the stuffing into the center and shape it as shown in the picture.


Seal it properly by using some flour+water mix, so it won't open up while frying.


Shape all the gujiya and keep it covered with kitchen towel.
Once you are done shaping all Gujhiya, heat the oil or ghee for frying on medium heat.
Once oil is hot enough fry gujiya till it becomes golden brown and crispy from both sides.


Take them out on a paper towel to remove the excess oil.
Serve them lukewarm, they taste better when warm.

Monday, 2 March 2015

Yum

Hidden Surprise Chocolate Cupcakes (Eggless)


Ingredients:

All Purpose Flour/ Plain Flour                    - 1-1/2 cups  (minus 2 tblspoon)
Corn Flour                                                   - 2 tblspoon
Dark Cocoa Powder                                    - 2 tblspoon
Baking powder                                            - 1 tspoon
Baking Soda                                                - 1/2 tspoon
Egg replace powder                                     - 1 tblspoon (optional)
Salt                                                               - 1 pinch
Vegetable Oil                                               - 1/2 cup
Yogurt                                                          - 1/2 cup
Milk/Water                                                   - 1-2 tblspoon
Granulated Sugar                                          - 1/2 cup
Vanilla Extract                                              - 1 tspoon
Sprinkle                                                         - for decoration
Maltesers                                                       - 12 for hiding inside


Method:

Pre-heat your oven to 180 C.
Line a muffin tray with 12 cupcake liners.


In a deep bowl mix flour, cornflour, cocoa powder, egg replace powder, baking powder, baking soda and salt. Mix well and keep aside.
Now in other mixing bowl, take oil, sugar and yogurt and vanilla extract.
Mix it very well using hand mixer until light and fluffy.
Now alternatively mix dry ingredients.
If you find your mixture to be very thick, use 1-2 tablepsoon of milk.
The thickness of the batter should not be very runny. It should be on the thicker side.
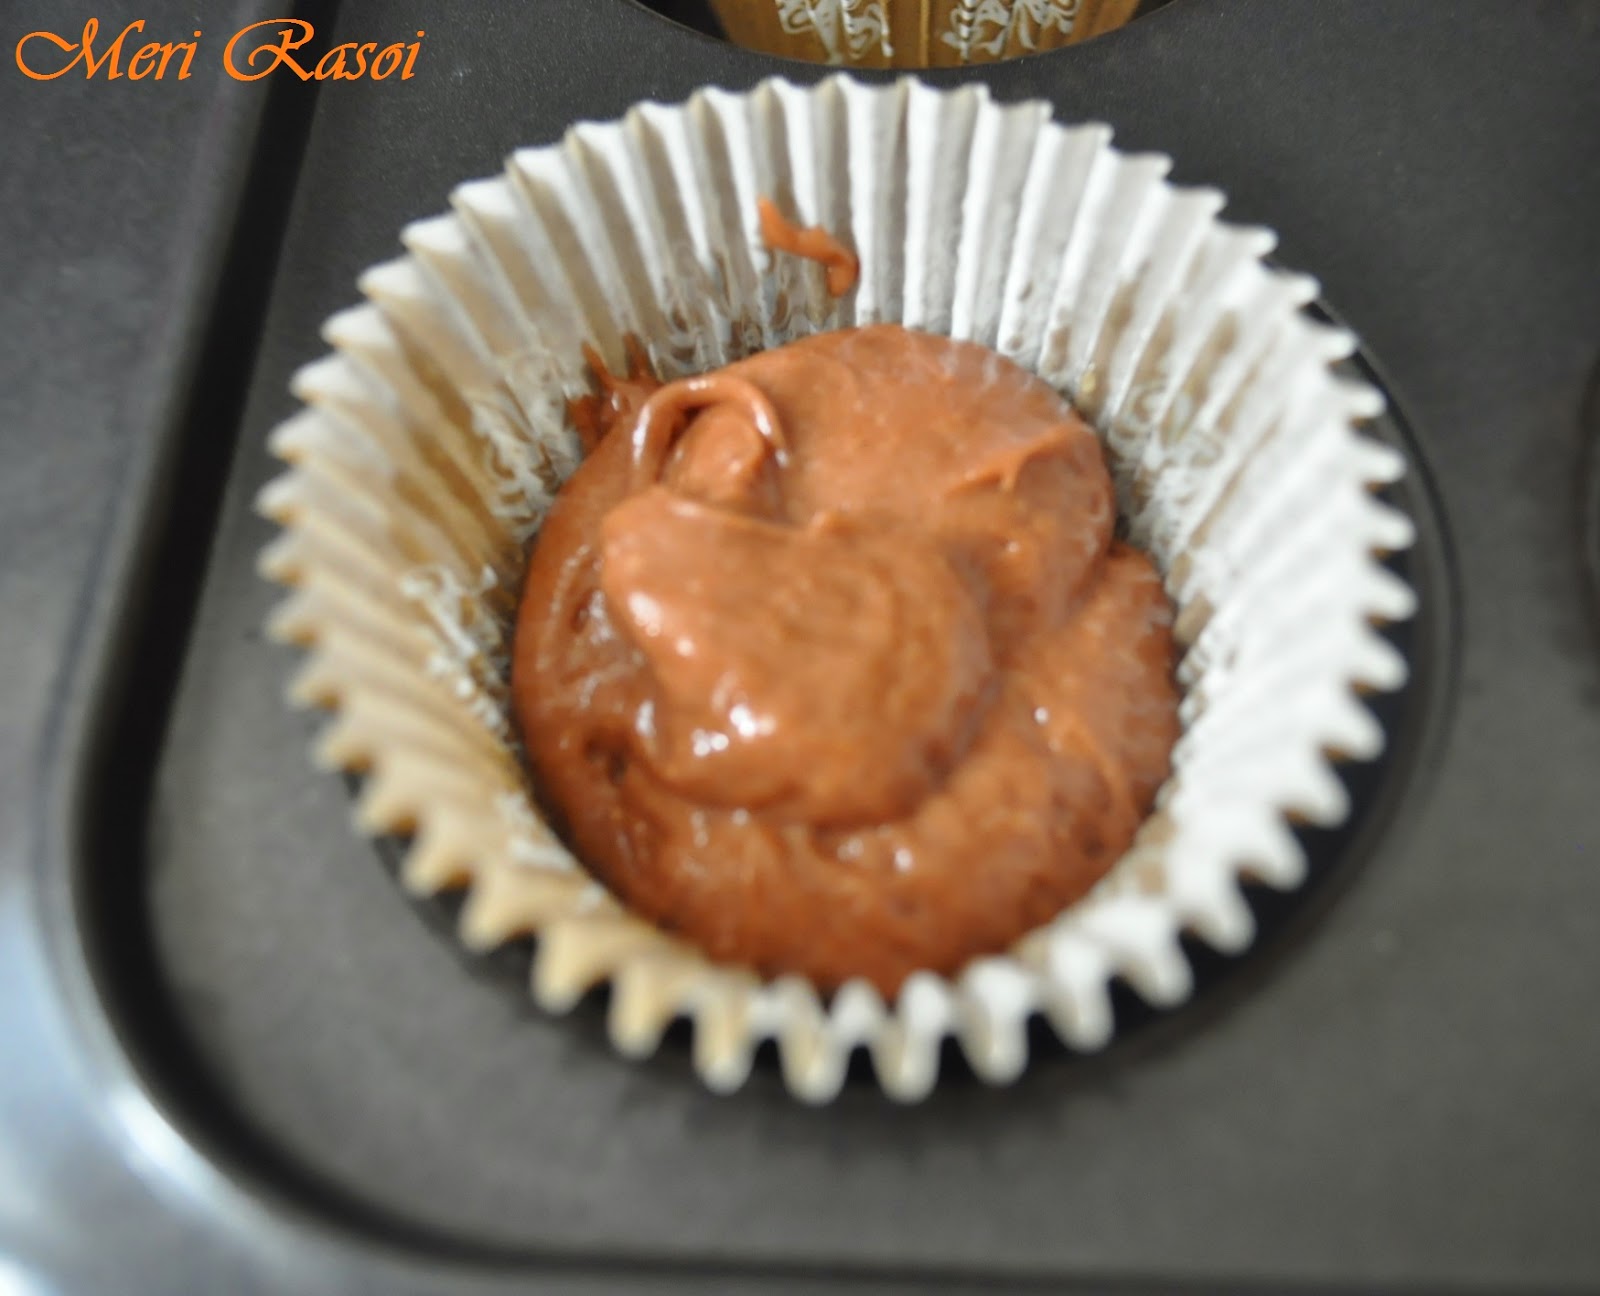
Now spoon the batter into cupcake liners up to 1/2 of their capacity.


Now place 1 malteser on each cupcake.


Now cover it with another half spoon of batter.


The cupcake liners will be filled 3/4 of their capacity, giving them space to rise.


Bake the cupcakes for about 10-12 minutes or until the toothpick comes out clean.


Cupcakes are ready to serve as a dessert or a snack for your kids.


Here is one more picture to show you the texture and inside of the cupcakes.