Showing posts with label eggless. Show all posts

Tuesday, 23 June 2015

Yum

Nutella Leaf Cookies

Hurry!!!! This is the 200th post of my blog and I'm so excited to share this with you all. You are all who made it possible, encouraging me to cook and post more recipes. I want to thank you all for all the love and encouragement, you have shown for my blog.

Lets celebrate with something simple but everyone's favourite. COOKIES!!!!! Yes, Cookies and that too made with NUTELLA!!!! Ha ha ha , I know I get all excited talking about nutella. This is something I can eat all day long, but at the same time I'm very health conscious. So little bit at a time, that's what made me think of something I can eat within the limit but has pure taste of nutella.

Idea is to make Nutella cookies without so many stuff going in there. No oil, no sugar  and no butter. Crispy and crunchy cookies. So just with 4 ingredients, I made these yumtastic cookies for evening tea. I'm now waiting for my darling daughter to come back from school and we can share our evening tea with these Nutella Leaf cookies.

Does the name sounds good. I love it, but you can shape them as you want and name them accordingly. Easiest recipe and yummiest cookies, is the theme of 200th post, so Thanks once again for all the love and encouragement. Presenting "Nutella Leaf Cookies". Try your hands on them and drop a comment with your feedback........Until Next Time, Happy Cooking Friends, Saumya


Ingredients:

Self Raising Flour                 - 1 cup
Nutella                                   - 1/3 cup
Milk                                       - 1 tblspoon
Nuts                                       - 1 tblspoon (Mixed / Hazelnut) Ground


Method:

Line a baking sheet with baking mat/parchment.
In a stand mixer/Bowl, combine the Nutella & flour until it's like crumbs.
With the mixer running, add the milk and nuts.
Take it out from mixer, and combine it to form dough.
This dough will give you 30 cookies.
I made 16 cookies and freeze rest of the dough.
Divide the dough into equal parts depending on the size.
The simple way to make cookies is to roll it out on a board and cut out the desired shapes from cookie cutter.
I wanted a bit of adventure so I made 16 equal portions of dough.
Shaped and Carved them like leaves.
Place all the cut/shaped cookies on the lined baking tray.

Preheat the oven to 180c. While oven is heating keep the cookie tray in the fridge.
Bake these Nutella cuties in preheated oven for 10-12 minutes, until crisp and just beginning to colour. Remove from the oven and transfer to wire racks to cool. Sorry about the lighting on the picture. It's a dull day.

Cookies are ready to serve with evening tea or as a snack for kids.
You can also sandwich them with Chocolate sauce, Nutella or Vanilla Buttercream.

Sunday, 14 June 2015

Yum

Classic CheckerBoard Cookies

I've always been dreaming of baking, when I first started to cook on my own. I used to be a helper in my mum's kitchen, so honestly i never liked cooking. Once got married and settled into a foreign country, I've had to cook each meal on my own. I never liked outside food much, because that was not made for my taste buds.
Once I started to learn to cook different things, I found myself attracted towards baking. Baking used to be a monstrous job for me one year ago. Now things have changed, I started baking cookies, cakes, muffins and so on and to my surprise, I enjoy doing it. It's much easier than hob cooking sometimes.

So lets come to our to the title of this post, Checkerboard cookies. I've been dreaming of making them since long time. I've gone through many many recipes from other bloggers and most of them were made using eggs, which I don not use in my baking.

One recipe I stumbled up is from Linda of RotiAndRice blog. She explained it quite impressively with all the steps. Assembling the strips were the basic part I was scared of but she explained it very well in writing as well as in video, I made these cookies watching her video this morning, that simple It was. I'm still not perfect on them and need a lot of practice, but they look adorable :)

So here my friends is the recipe, adapted from Linda's blog, with some changes on my choice of size, shape and taste. Try making them and I'm sure you all will love eating them with tea or coffee. Let me know your feedback by dropping the comments below................. Until Next Time, Happy Cooking Friends, Saumya


Ingredients:

Vanilla Dough:

Unsalted Butter                       - 1/2 cup / 1 stick softened
Granulated Sugar                     - 1/3 cup
Plain Flour / APF                     - 1-1/4 cup
Vanilla extract                          - 2 tspoon


Chocolate Dough:

Unsalted Butter                       - 1/2 cup / 1 stick softened
Granulated Sugar                     - 1/3 cup
Plain Flour / APF                     - 1-1/4 cup
Cocoa Powder                          - 2 tblspoon
Orange Extract                         - 1/2 tspoon


Method:

For vanilla dough, cream butter and sugar together in a large bowl until well blended, about 2 minutes.

Now beat in vanilla extract.

Slowly mix in the flour on low speed.

Knead dough with hands to bring it together.
Turn dough onto a clean working surface.
Shape into a rectangle.

Wrap with cling film and chill for about 30 minutes.

For chocolate dough, again cream butter and sugar together in a large bowl until well blended, about 2 minutes.

Beat in the cocoa powder and orange extract.

Slowly mix in the flour on low speed.

Knead dough to bring it together.

Turn dough onto a clean working surface.
Shape into a rectangle.
Wrap with cling film and chill for about 30 minutes.

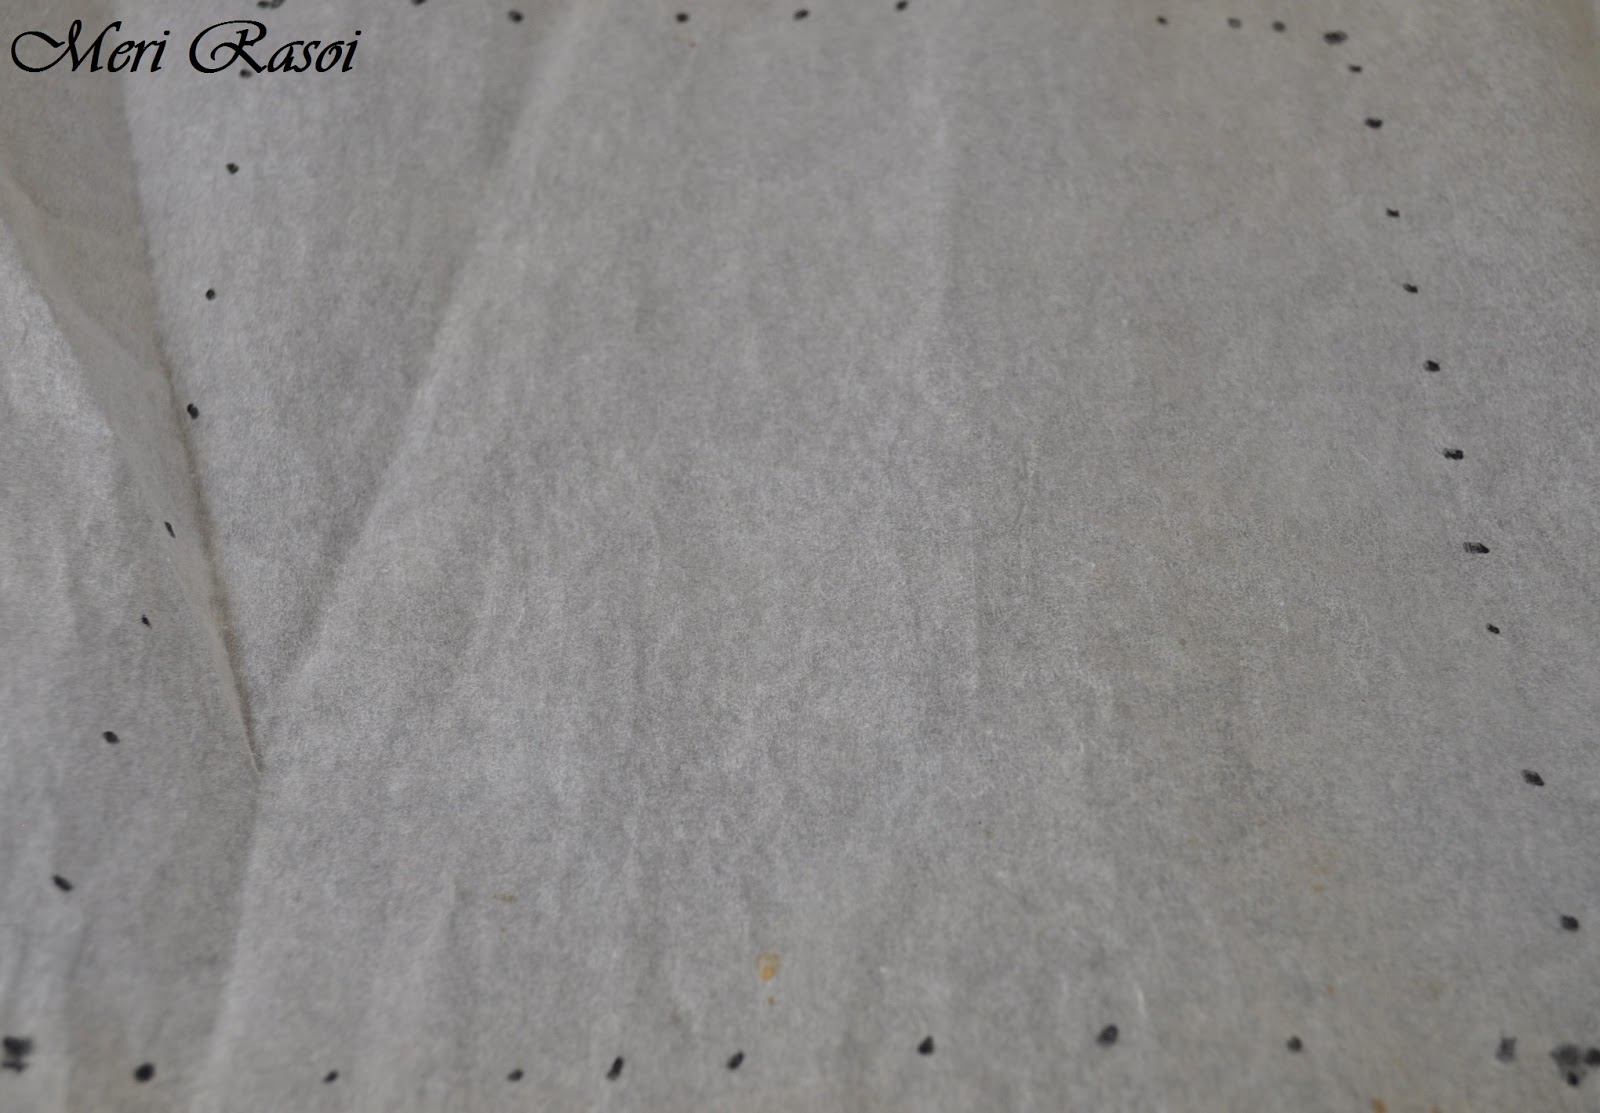
While the dough are chilling ,  Prepare a sheet of parchment or wax paper to shape the cookies.
Draw a 7inch x 7inch square in the middle of parchment or wax paper.

When both of the dough are chilled, remove from refrigerator.
Place a sheet of the parchment paper with the drawn side of the 7in x 7in square facing down on your
work surface.
Unwrap dough and place in the middle of the 7in x 7 inch square.
Then place a sheet of plastic wrap on the top of dough.

Roll out dough to the outline of the 7in x 7in square.

Use a knife or spatula to push dough into the square so as to minimize wastage.
Do the same for the chocolate flavor dough.

Remove the plastic wrap and cut the dough into three equal width slabs.

Place three slabs of dough, alternating vanilla and chocolate dough one on top of the other.

Gently press the slabs together, so that they stick together.

Cut each slab lengthwise into 3 strips of equal width.

Rearrange the strips of dough to create 2 slabs forming 9 small rectangles crosswise. Simply alternate the colours.

Wrap each slab with plastic and refrigerate for another 30 minutes.

Preheat oven to 350°F (180°C).
Remove dough from refrigerator. Unwrap the dough and slice each log into ¼ inch thick slices crosswise.

Place onto nonstick baking sheet and bake for about 12 minutes. As there were more cookies than my baking tray can occupy, I freeze rest of the dough.

Remove and let cookies cool for 5 minutes before transferring onto a wire rack to cool completely.


These cookies can be stored in an airtight container for up to 2 weeks. I made another batch of 15 and stored the cookies in a jar to treat my kids again with their favourite milk shake. 


Recipe with thanks adapted from Roti n Rice at http://www.rotinrice.com/2014/10/checkerboardcookies/. I did some changes according to my taste and choice of size of the cookies.

Wednesday, 3 June 2015

Yum

Karachi Bakery Style Tutti Frutti Biscuits

When I was a little girl, there used to be a bakery on the road where we lives, they sold world's best biscuits ever. I never bothered about how clean they are, how hygienic their method was but all I always focused was on the tasty treats they sold.

One of my favorite was tutti-frutti biscuit. candied fruits with dry nuts mixed with flour and baked to the perfection. Still droll by thinking of them. The shopkeeper, who I called Uncle, always told me these are one of best from their shop and they were called "Karachi Bakery Fruit Biscuits".

Who bothers, I thought always, I was interested in buying them enjoying them with a glass of milk or with some tea (Whenever I can have it).  Few days back I saw a fellow foodie posting her method of making those biscuits. It took me to my childhood days and I decided to try my hand on my childhood favorite biscuit.

Tried them 2-3 times but not best attempts and once I just threw them in bin. Felt frustrated and disappointed. But today for my daughter's request for cookies, I thought to make them again. Super excited they came out perfect just perfect. I still can do batter with them , so I'm gonna try them again. Next time i'll try to perfect them with wholewheat flour.

The perfect texture should be crunchy outside and once bitten soft crumbles inside. The fruits should come into your mouth with each bite of this biscuit. So lets go through the recipe and get you all going in the Kitchen and trying this biscuit recipe.

I 'm sure these will be a hit in your house, kids as well as adults will love them. Don't forget to comment below :) Until next time.......Happy Cooking Friends, Saumya

Ingredients:

APF/Plain Flour             - 1- 1/2 cup
Butter                             - 1/2 cup (Softened not melted on room temperature)
Powdered Sugar             - 1/3 cup
Tutti Frutti                     - 1/2 cup
Cardamom Powder        - 1/2 tspoon
Vanilla extract               - 1/2 tspoon
Yellow Color                 - 1/2 tspoon or 2 drops


Method:

First thing first in this recipe, we need softened butter, in which we can poke our finger but it should not be melted and runny.
Cream the butter and sugar together until light and fluffy.


Add the cardamom powder, tutti frutti, and vanilla extract, Mix again.
Slowly add the flour in 4 parts.


Now start to mix the flour and butter mixture together. Do not knead just bring it together.
Shape the dough into a 2 inch thick in height like a square log shape. Wrap it into cling film and keep it in a long square box like foil box or cling film box.
Keep the dough in the fridge for at-least 1 hour.


Preheat the oven to 180c and line baking tray with silicon baking mat/parchment paper/nonstick paper.
Take the dough log out of the fridge and cut 1/2 inch thick squares. If the shapes goes wrong in cutting, pat them with hand to make them square.


Place the cookies on the tray with 2 inch space in between each one, as they expand while baking.


Bake the cookies for 15 minutes or until the sides are starting to turn light golden. Do not brown them.
Cookies will come out with sides hard and center soft, which will get hard while cooling. so do not bake them again thinking they are uncooked.


Let them cool on tray for 5 minutes and then transfer them to cooling rack to cool completely.


Once cooled completely serve them with Milk, Coffee, Tea or Juice.
These cookies are good to store in an airtight container for 2 weeks.
My kids adored these cute colorful cookies, I'm sure yours will love them too.