Showing posts with label Breakfast. Show all posts

Thursday, 19 January 2017

Yum

Wholewheat Buns Stuffed With Leftover Bhaji


Ingredients:

For the Dough:
Chapati/Whole Wheat Flour                     1 - 1/2 cups
Milk                                                           1/4 cup
water                                                          1/4 cup (add 1-2 tblspoon if more needed)
Active dry yeast                                         3/4 tblsp
sugar                                                          1 tblsp
Salt                                                             3/4 tsp
Olive oil                                                     3 tblsp

For stuffing:
Leftover Bhaji of Pav Bhaji


Method:

Warm the milk,add sugar to it and mix well. Add the yeast to it and mix well. Keep aside.
Take flour and make a dent,add water,olive oil,salt in it and the yeast completely dissolved in the milk.
Mix and make a smooth dough,keep in a warm place covered with a cling wrap for an hour.
Meanwhile to prepare the stuffing, you do not need to do much efforts just dry out the water from bhaji and make it a bit of the paratha style stuffing. Keep it aside to cool down.
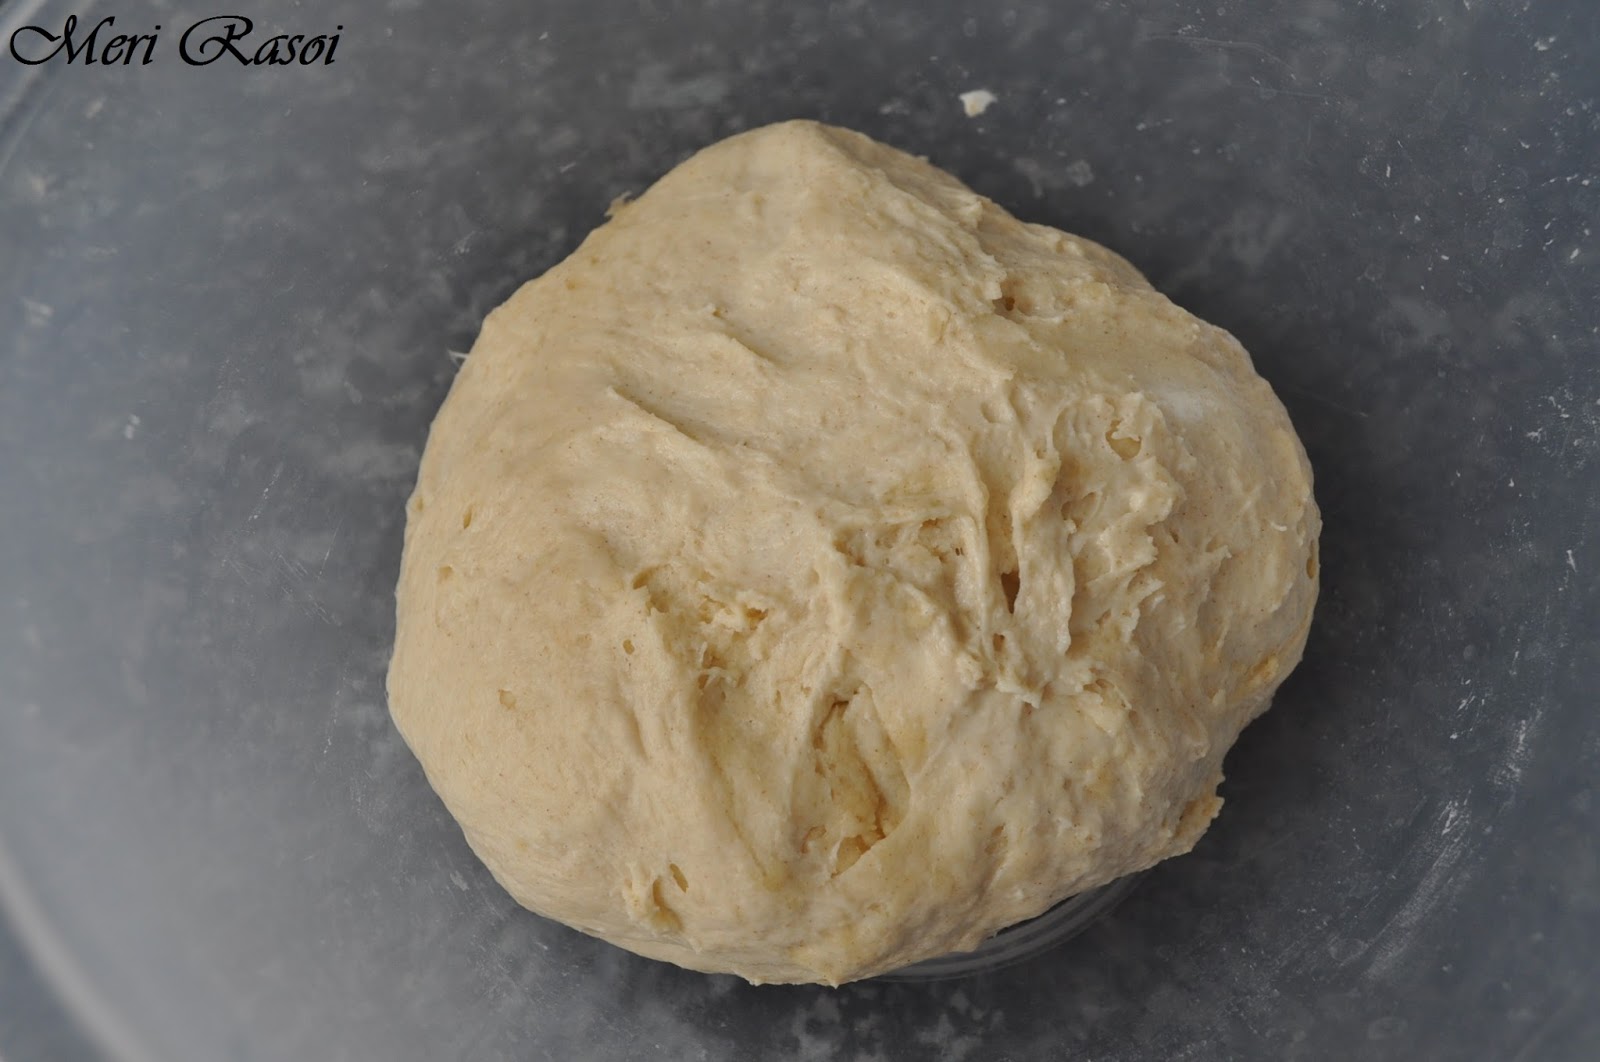
By now/after an hour, the dough we prepared would have doubled in size. Take it again and just give it a gentle knead and make 8 equal sized balls.
Take each bun and make a dent in the middle.
put the dried bhaji stuffing inside and pinch all the end towards centre to cover the stuffing, Just like we do while making Kachori.
Roll into smooth bun. Repeat for every bun. Arrange them in the lined baking tray. Keep the pinched joined side down.
Brush them well with olive oil and sprinkle your choice of seasoning on top.


Preheat the oven for 190°C. When the preheat is finished,by the time the buns will again rise a bit.
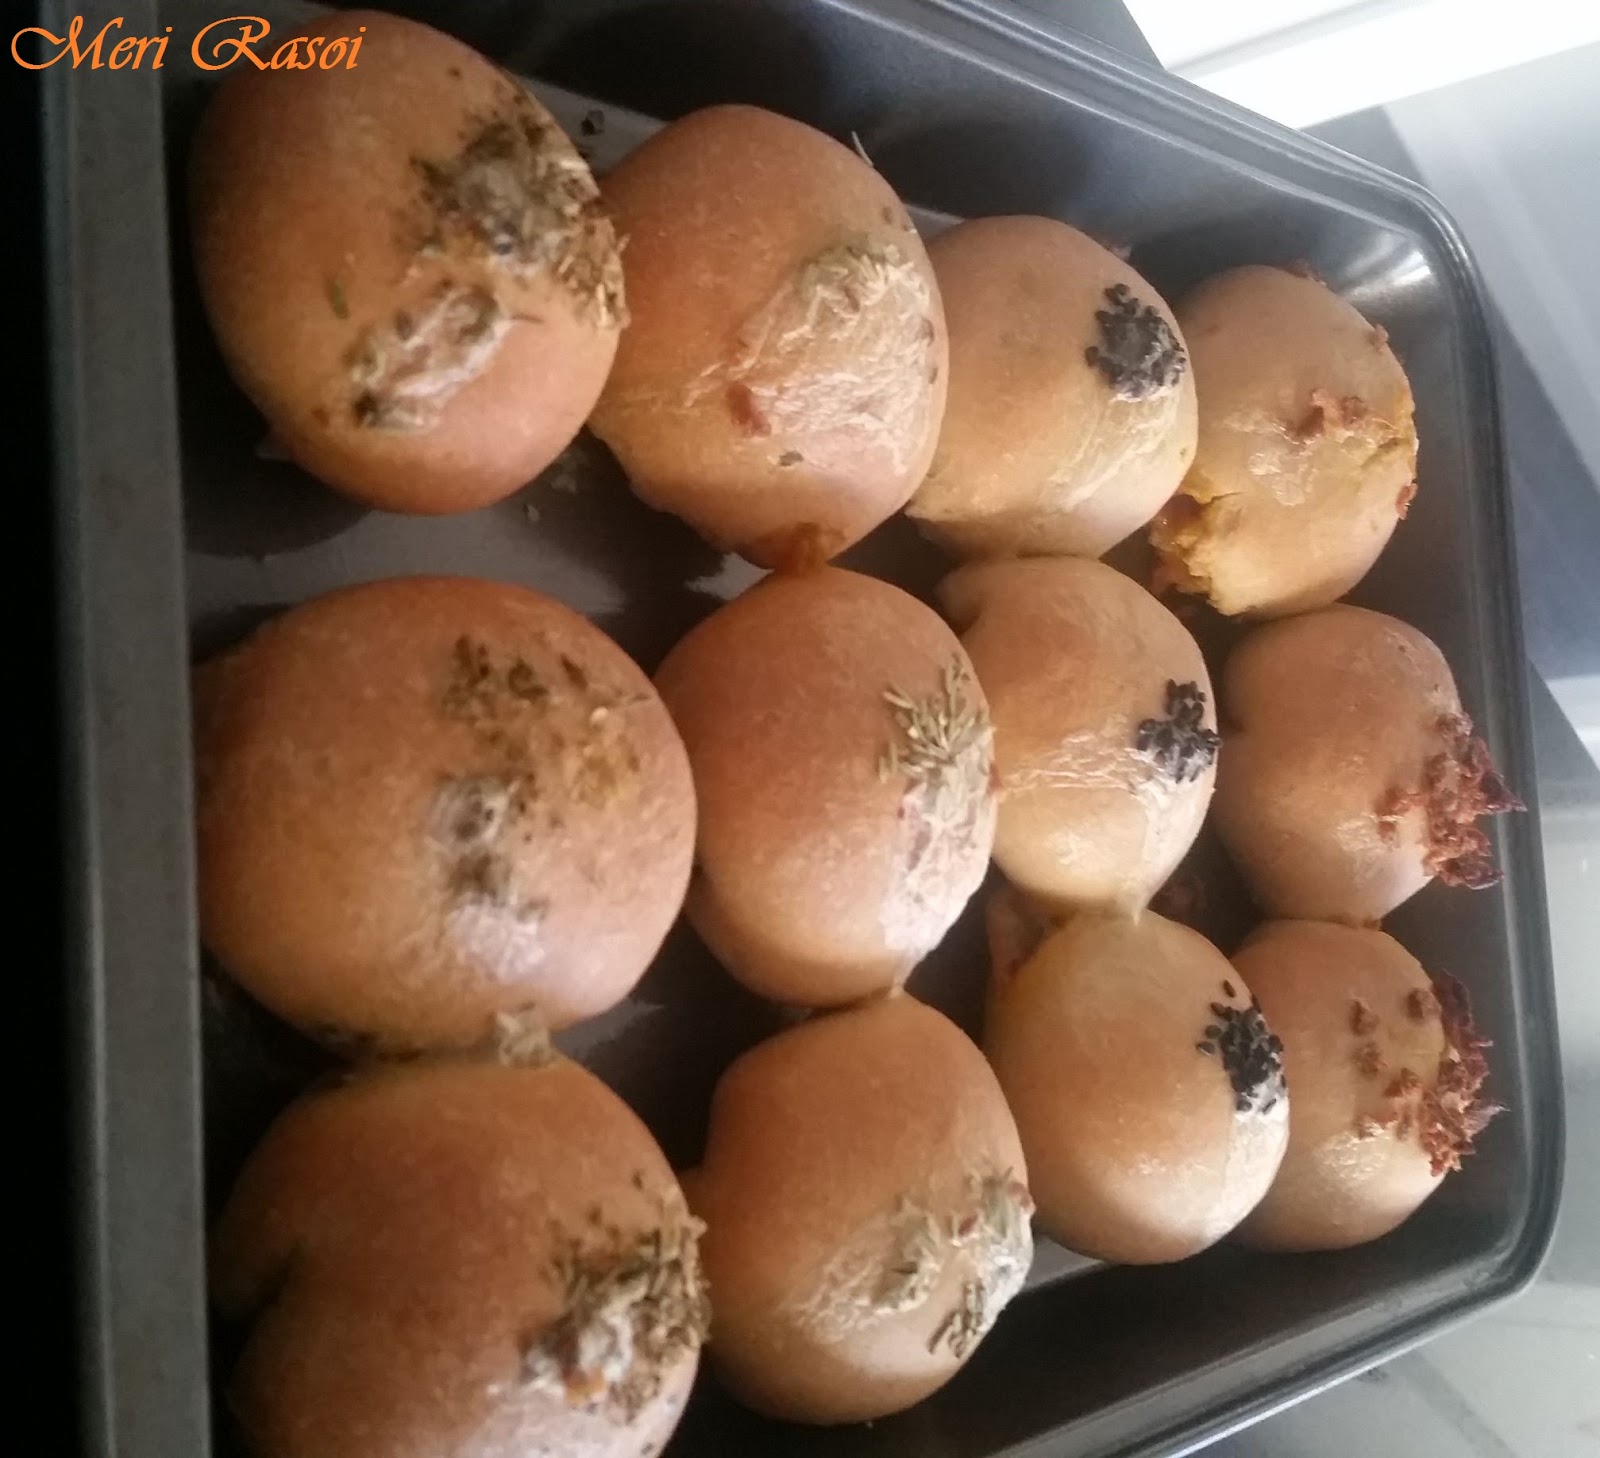
Bake for 17- 20 mins or until the top crust turns golden brown in colour. (Mine took exactly 20 mins) Smells heavenly!!


After finished baking,brush them with butter or oil and enjoy with tea/evening snack!
This would also be a great snack for kids after they come back from school!
One more close look at the texture :) Enjoy until next time :)

Sunday, 15 January 2017

Yum

Spinach Handvo


Ingredients:

Handvo Batter:

Rice                                   - 1 cup
Lentil Mix                                 - 1/2 cup each ( arhar,chana daal )
Fenugreek Seeds           - 1 tspoon
Yogurt                                       - 2 tblspoon
Baking Soda                             - 1 tspoon
Green Chili Paste                     - 1 tspoon
Ginger  Paste                          - 1 tspoon
Garlic  Paste                            - 1 tspoon
Turmeric Powder                     - 1 tspoon
Red Chilli                  - 1/2 tspoon
Lemon Juice/Pickle Gravy      - 1 tspoon  (Optional)
Citric Acid                               - 1/4 tspoon
Baking Soda                            - 1 tspoon
Jaggery                                    - 1/2 cup
Salt                                          - 2 tspoon
Oil                         - 2 tspoon
Spinach                 - 1 cup finely cut and blanched

For Tempering / Sprinkle :
Oil                                           - 2 tblspoon
Red Chilli                                - 2-3 whole
Hing                                         - a pinch
Mustard Seed                           - 2 tspoon
Sesame Seeds/Til                     - 2 tblspoon + 1 tblspoon for sprinkle
Peanuts                                     - 1/4 cup
Fried Onions                             - 2 tblspoon


Method:

Making The batter:
Wash and Soak Rice and both lentils along with fenugreek seeds for overnight.
Now grind soaked rice, lentil and fenugreek seeds with the help of water.
Make a thick smooth paste, sprinkle water while grinding.
Do not mix a lot of water to make it a runny batter.


Making Handvo Mixture to Bake:
Mix the batter well.
Now add 2 tblspoon yogurt, 1 tspoon salt and mix well.


Keep it to ferment. If the weather at your place is hot or warm keep the batter for 4-5 hours and if it cold and chilli ferment it for 7-8 hours.


Once fermented add jaggery and mix well to get the jaggery melted very well.
Now we will add the spinach in the batter and mix well to avoid any lumps.
Now its time add the spices.
Add in the green chili, ginger, garlic, red chili, turmeric, salt, citric acid, baking soda, oil and also the pickle gravy or lemon juice.


Mix the batter very well to form lump free batter.
Taste it and adjust the Spices accordingly.


Pre-heat the oven to 190c and grease a 8"-10" pyrex tray.
Now we will prepare the tempering.


Warm the oil in a pan, add in the mustard seeds, sesame seeds, red chilli, hing, Peanuts and let them pop.
Now add the tempering to Handvo Batter and mix well.


Pour the batter into the greased tray.
Sprinkle some more sesame seeds and fried onions over it.


Now bake the Handvo for 1 hour or until a toothpick inserted comes out clean.
Cool the handvo and cut into desired sized pieces.


Serve with assorted chutney or pickles.
This is a very good option as a breakfast, brunch or starter in a party.


Thursday, 27 August 2015

Yum

Tomato Masala Bhindi / Tomato Okra Fry

Just like Aloo / Potatoes , Bhindi /Okra/Ladyfinger is also very good option for side dish in the meal. Bhindi can be made in various ways but mostly dry as it gets slimy when left with moisture. I make Bhindi mostly as a side dish with Daal and Rice or With Paratha for morning breakfast.

In this Bhindi recipe I used tomatoes as well for the first time. I was bit skeptical at the first place but since I've bug of experimenting in kitchen, so I just went for it. To compliment moisture from tomatoes I added some gram flour in the dish. Also to avoid Bhindi get slimy or wet while cooking, clean, wash and dry it in advance, so when you are cooking it, it fairly dry.

When I was little, we use to get Bhindi in our lunchboxes with Puri/Paratha. Sometimes on weekend, we ate Bhindi with Dal Rice and Chapati in lunch. Using fresh green chilies, thinly sliced onions and sliced garlic enhances its taste. Crisp the bhindi by shallow frying it a tspoon or so of oil and it will be the best side dish for your meal.

Lets have a look at my way of making "Tomato Masala Bhindi / Tomato Okra Fry". It's fairly simple recipe like most of my recipes. Not any exotic ingredient , just the everyday ingredients from your kitchen and the dish will be ready for time of Breakfast, Lunch, or Dinner. Hope you all will try to make it and let me know how everyone liked it at your home.. Until next time..................., Happy Cooking Friends, Saumya


Pictorial Method of Making "Tomato Masala Bhindi / Tomato Okra Fry":

Wash bhindi/okra in water thoroughly. Wipe them with a kitchen towel or just spread them on chopping board to allow them to dry naturally.
Cut off the crown and base tip of each bhindi, vertically slice them keeping a width of your choice in thickness. I kept them almost 0.45inch.

Slice Onions thinly,  chop tomatoes finely and cut green chilies very fine.
Heat 1 tblspoon oil in a thick bottomed shallow frying pan.
Add the sliced Okra and fry them until golden n crisp. Take them out on a paper towel lined plate.

Now add sliced onion and green chilies in the same pan with another tablspoon of oil.

Saute onions till they start turning light brown.        

Now add the chopped tomatoes. mix well.        

Now add powdered spices , Turmeric, Coriander, Garam masala, Salt, and Amchur with gram flour in the pan.

Mix the spices and gramflour well. Cook this mix until the tomatoes become soft and mushy and you start to see oil releasing from the sides.

Now add the fried crispy bhindi/okra. Mix well but gently to avoid pressing it too much.
Put the flame on high and fry the Okra and Masalas well to avoid any moisture in the dish.
Don't burn the dish in order to dry the moisture, if starts to burn switch off and take it away from the hot burner.
Once you can't see any moisture in dish, switch off the flame and immediately turn it out in a serving dish.


Garnishing with coriander is optional, as very few people eat Okra with fresh coriander.
Serve Tomato Masala Bhindi as a side dish in any of your meal like with chapatis, dal, rice or may be parathas.


Ingredients:

Okra/Bhindi/Lady finger                         - 500grm
Onion                                                       - 2 medium , thinly sliced
Tomato                                                     - 2 medium , finely chopped
Green Chilies                                            - 2 thinly sliced
Asafetida/Hing                                          - a pinch
Turmeric powder                                       - 1/2 tspoon
Coriander powder                                      - 1 tspoon
Raw Mango Powder/Amchur                    - 1/2 tspoon                                  
Garam masala                                            - 1/2 tspoon
Salt                                                             - to taste
Gram Flour                                                - 2 tblspoon
Oil                                                              - 2 tblspoon


Method:

Wash bhindi/okra in water thoroughly. Wipe them with a kitchen towel or just spread them on chopping board to allow them to dry naturally.
Cut off the crown and base tip of each bhindi, vertically slice them keeping a width of your choice in thickness. I kept them almost 0.45inch.
Slice Onions thinly,  chop tomatoes finely and cut green chilies very fine.
Heat 1 tblspoon oil in a thick bottomed shallow frying pan.
Add the sliced Okra and fry them until golden n crisp. Take them out on a paper towel lined plate.
Now add sliced onion and green chilies in the same pan with another tablspoon of oil and saute them till they start turning light brown.
Now add the chopped tomatoes. mix well.                      
Now add powdered spices , Turmeric, Coriander, Garam masala, Salt, and Amchur with gram flour in the pan.
Mix the spices and gramflour well. Cook this mix until the tomatoes become soft and mushy and you start to see oil releasing from the sides.
Now add the fried crispy bhindi/okra. Mix well but gently to avoid pressing it too much.
Put the flame on high and fry the Okra and Masalas well to avoid any moisture in the dish. Don't burn the dish in order to dry the moisture, if starts to burn switch off and take it away from the hot burner.
Once you can't see any moisture in dish, switch off the flame and immediately turn it out in a serving dish.
Garnishing with coriander is optional, as very few people eat Okra with fresh coriander.
Serve Tomato Masala Bhindi as a side dish in any of your meal like with chapatis, dal, rice or may be parathas.

Thursday, 9 July 2015

Yum

Punjabi Bhatura

As the name says, this is a hearty food. Punjabi food is spicy, tangy and delicious. Chole Bhature is the best known combination of Punjabi cuisine. We often eat Chole Bhature , because my family is a big fan of this dish, even friends come over for the chole bhature party.

Bhatura/Bhature, is made another form of fried bread made from plain flour/maida or sometimes 50:50 ratio of wheat flour and Maida. I make it each way. Some people add semolina in it to get the crunchy texture, but that makes Bhatura to soak a lot of oil, which noone in my family likes.

This recipe of Bhatura is my mom's recipe and tried and tested by me several times. So I totally trust this recipe. My mum keeps the dough to ferment overnight and then knead it again to active the gluten of the flour. Thats what I've learned from her and use her way of making Soft, fluffy and delicious Bhaturas.

Few ingredients, less hassle recipe is the best recipe for me. You also try this recipe at home and leave your feedback in comments below. I would love to hear from you. Until next time............... Happy Cooking Friends, Saumya

Ingredients:

Maida/Plain Flour                   - 1-1/2 cups
Salt                                          - to taste / 1 tspoon
Oil/Butter                                - 1 tblspoon + for deep frying
Yogurt                                     -  1/3 cup
Baking Powder                        - 1/2 tspoon
Baking Soda                            - 1/4 tspoon
Warm Water                            - 1/2 cup to as required

Method:

In a mixing bowl, take the yoghurt, baking powder, baking soda, 1 tblspoon oil, salt  and flour.
Mix well, with the help of water form a soft smooth and pliable dough.

If the yogurt is thick and has it's water/whey in it, probably you don't need all the water.
If the yogurt is thick, then to thin the batter, add more water.

Cover the bowl with a damp cloth and set it aside in a warm place for atleast 3-4 hours to get the fermentation. if the weather is too cold, keep the dough overnight..
The 4 hours later/next day you will see the dough will be more than double in size and has bubbles in it.
Punch and Knead the dough again to make it smooth.

Divide it into 8-10 balls (depending on the size of Bhatura you like)  and roll them into 5-6 inch discs.

Heat oil or ghee in heavy Karahi/Pan and deep fry the bhaturas, same way as Poori or Kachori.


Bhaturas are the best companion of Punjabi Chole. Serve them Hot with Chole, Raita, Salad and Chutney.


Friday, 3 July 2015

Yum

Leftover Vegetable Pulao and Cheese Patties

I quite "not throw" but use the leftover food most of the time, especially the dinner leftovers. Most of the dinner leftovers make very good Breakfast Dishes. I always look for the "leftover Rice and Chapati" to use in making something delicious for breakfast.

For instance, from one of the dinner recently, I was left with 1 and 1/2 cup of Vegetable Pulao. I was thinking it's not even a full portion for someone. So thats going to be converted into something else. Kept it carefully in the fridge and next morning i was up with a recipe in mind for a tasty breakfast.

I gathered all the ingredients, in my mind for this breakfast treat. Mixed it all up along with the leftover Pulao, shallow fry that and we have yummy, tasty, delicious Patties to go with Buns, Cookies and morning drinks for breakfast.

Here's presenting Leftover Vegetable Pulao and Cheese Patties. Kids simply loved eating them with out any fussy morning face, Hubby asked me to make them again whenever we have any leftover pulao and me so happy to see them having something they liked.

Try this quick, simple and easy recipe in your kitchen and see your family members face lighting with joy and mouth singing praises for you. Let me know your feedback in the comments below.................... Until Next Time, Happy Cooking Friends, Saumya


Ingredients:

Leftover Vegetable Pulao                     - 1 - 1/2 cup
Gram Flour                                           - 3 tblspoon
Grated Cheese                                      - 2 tblspoon
Desiccated Coconut                             - 1 tblspoon
Salt                                                       - to taste / optional
Red Chili Flakes                                  - to taste / optional
Lemon Juice                                        - 1 tblspoon
Oil                                                       - 2 tblspoon to shallow fry


Method:

In a heavy bottom pan, dry roast the gram flour for 3-4 minutes.
Tip over the roasted gramflour into the Pulao bowl.
Now add cheese, salt, chili flakes, lemon juice and coconut into the same bowl.
Mix well with your hand to give it a texture of loose dough. Refer the picture.

Divide the Pulao dough into 8-9 equal pieces with greased hands.
Heat a heavy bottom pan on medium heat.
Grease your hands again and shape the dough balls into patties.
Shallow Fry the Patties , 4-5 at a time, giving them space to cook properly.
Fry them until golden from both sides, flipping carefully in between.
Once all of them are done, Patties are ready to be served, as a starter, light lunch with salad, tea-time snack or breakfast as we did.
You can also sandwich them with buns, baps or Pav with Chutneys, Condiments or sauces.
Enjoy the light, crunchy and filling patties.


Notes:
You can also use Oats powder, but I was run out it so used gram flour.
You can replace Cheese with crumbled Paneer.
Coconut is totally optional.
Spices are also optional, if the Pulao is spiced and floured extremely hot.

Thursday, 18 June 2015

Yum

Tofu and Veggie Stuffed Rosemary Buns

Mummy is nowadays feeling Lazy! Thats what my kids are thinking. To be honest, It's the weather, which is making me lazy. I just wanna sit down and read with a cold drink in my hands. I do not want to go in the Kitchen, which is just next to the HOT HOT HOT Sunroom.

Can you resist the temptation of baking new recipe, you just read in a magazine. Can you can you, I can not. So here goes Mum in the Kitchen. Mixing some flour, making stuffing and preheating oven. Finding maximum possible ingredients and checking the time.

Why I always start to do preparation, just before I need to go out and pick-up the kids from their schools? Why oh Why??? Just the thought my kid's happy face, when they step inside and smell the aroma of goodies baking in the oven, makes me do that.

"Rosemary Tofu and Veggies Stuffed Buns", The original recipe calls for Indian Samosa stuffing and sesame seeds on top of the buns. I've already tried that recipe, so decided this time it needs some changes. The original recipe calls for plain flour/All purpose flour but I used Chapati Flour/Wholewheat flour.

So here is the end result of all the hard work. very simple recipe, just like all the "made from scratch" bread recipes, it just need some time for the dough to proof. Stuffing gets ready in 10 minutes. assembling is done in few minutes and baked in just 17-20 minutes. Kids loved them for their after school snack. They saved few for their morning breakfast as well. I love my Fairy and Champ!!!

Have a go on this recipe in your Kitchen, alter the stuffing, herbs and flour according to your taste. Enjoy the product of your hard work. My family loved these little bunds. Fulfilling and yummy, easy to make and bake. Drop a comment below with your feedback............Until next time, Happy Cooking friends, Saumya


Ingredients:

For the dough:
Whole Wheat Flour         - 1 cup
Rosemary                         - 1 tspoon
Salt                                   - to taste or 1/2 tspoon
Yeast                                - 1 tspoon
Honey                               - 1 tspoon
Oil                                    - 1 tblspoon
Water                                - 1/4 - 1/2 cup lukewarm

For the stuffing:
Tofu                                - 1/2 cup crumbled
Mix Veggies                   - 1/2 cup (par-boiled)
Salt                                  - to taste
Italian Seasoning             - 1 tblspoon
Lemon Juice                    - 1/2 tspoon


Method:

Mix flour, rosemary, salt, yeast, honey and oil in mixing bowl.
With the help of water start to knead the dough. Make it a bit wet and sticky dough. I used 1/2 cup water for that.
On a lightly floured surface, knead the dough for few minutes until smooth.
Grease a deep bowl and place the dough in it, cover with a cling film and leave it to rise.
It takes 2 hours to double up in warm weather and 4-5 hours in a cold weather.
Once risen punch it down and knead again, keep aside.
In another bowl, mix crumbled tofu, veggies, seasoning, salt and lemon juice. Mix well and keep aside.

Line a baking tray with parchment/baking mat/grease with butter.
Now divide the dough into 8 equal portions. Roll all of them of the size of coaster.
Put the stuffing in the center of rolled out dough coaster.
Pinch all the corners of the dough and seal it properly.
Place them on a baking tray pinched sides down.
Keep the baking tray aside for the second rise of the buns. It will take near to 30-35 minutes, depending on the temperature of Kitchen /weather.

Meanwhile preheat the oven to 190c.
Bake the stuffed buns for 20-30 minutes or until start to form golden crust. Keep an eye on the after 20 minutes.
Once baked brush them with butter and serve them with choice of other snack and condiments.
I'm sure this will be a hit in your family as well.